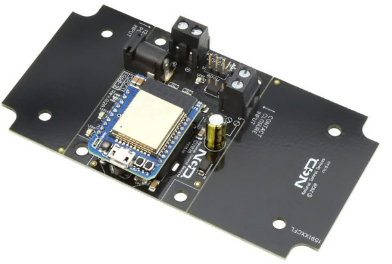
A NexGen Wi-Fi module need to be set up before you use N-Button Pro/Lite to control Push Notification Contact Closure board over Wi-Fi. The board’s IP address will be detected by N-Button Pro/Lite after the module is set up successfully.
Here are the steps to set up NexGen Wi-Fi module.
1. Power up the board with the NexGen Wi-Fi module installed. The LED on the module shows flashing green.
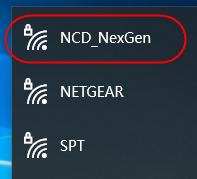
2. Push down C button on the module. The RGB LED turns to flashing blue, it indicates the module is in configuration mode.
3. In configuration mode, the module will appear as a Wi-Fi access point. A new Wi-Fi network called NCD_NexGen will be list on your computer. Connect your computer to the NCD_NexGen network with the password NCDBeast.
4. The Wi-Fi module configuration web interface will be open automatically shown as below. If not, input 172.217.28.1 or the link http://www.msftconnecttest.com/redirect to your web browser.
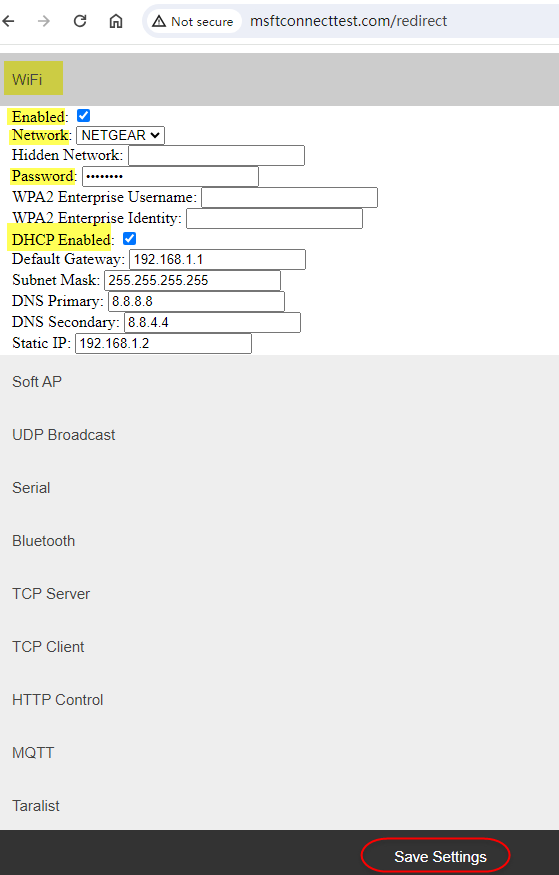
5. There are several configuration tabs. Here we work on WiFi tab only. Keep other tabs as default setting.
- Check Enabled option to allow the module to connect with the following Wi-Fi Network.
- Your default Wi-Fi network access point, which is the one before you connected to NCD-NexGen, should be list in the drop-down box. If you have more than one Wi-Fi Network access point available, be sure to select the SAME one as your computer’s Wi-Fi connection.
- Input the Password for the selected Wi-Fi network to allow the NexGen module access.
- Check DHCP Enabled option to obtain IP address for the module from DHCP managed router automatically(Recommended for most applications). Otherwise, you need to input the following static IP address settings.
- Click Save Settings at the end of the web interface to finish the configuration. The RGB LED turns back to flashing green, and NCD_NexGen Wi-Fi network is disconnected automatically.
6. Connect computer back to your default Wi-Fi Network, which you selected for the module.
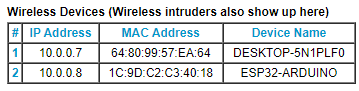
7. Log into your network router to make sure the NexGen module is attached and obtain IP address for it. IP addresses for your computer and the module or the push notification board should be both list as below.
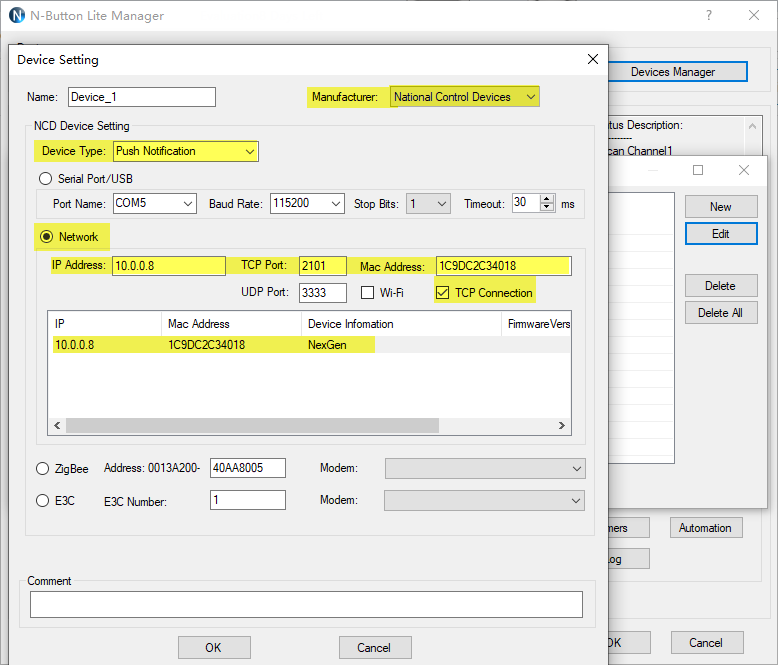
8. Run N-Button Pro/Lite, open Device Manager. Add a New Device for push notification board.
- Select National Control Devices for Manufacturer.
- Select Push Notification for Device Type.
- Select Network, the board’s IP address, that is the NexGen module’s IP address will be discovered and shown up automatically. You will see the RGB LED on the module shows solid green.
- Double click the list IP address, the IP Address and Mac Address will be filled in automatically.
- Be sure TCP Port is 2101.
- Check TCP Connection.
- Click OK to finish Device setting.
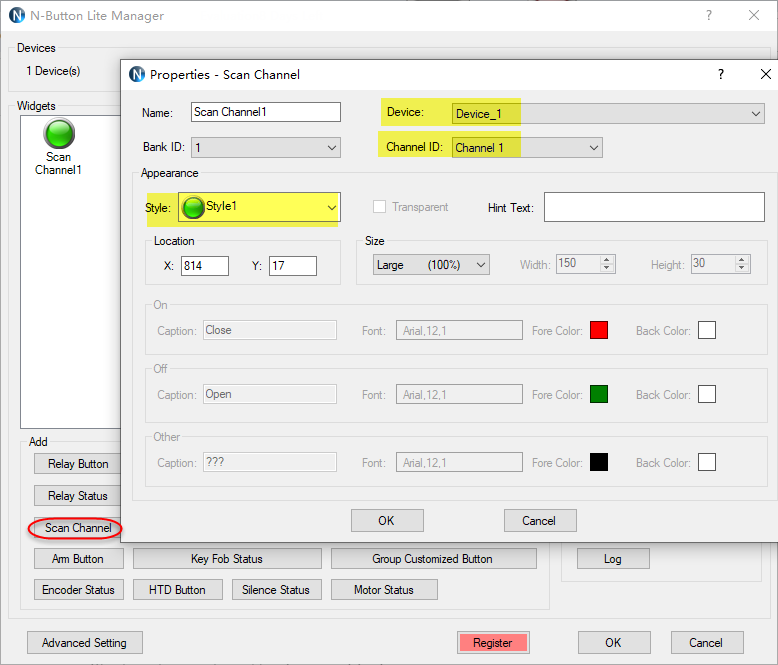
9. Add a Scan Channel widget to show contact closure status of the board . Select the Device, Channel ID and Style.
10. The Scan channel on your desktop may show different color.
Red indicates the contact closure is open.
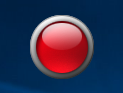
Green indicates the contact closure close.
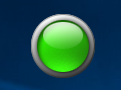
Gray means the status is unknown or disconnected.